
Hi there! I'm Courtney
I'm glad you're here! I share reliable recipes for real life and everyday celebrations. When I'm not taking care of my two kids or volunteering for political campaigns, you'll probably find me near a cheese board, hopefully laughing and sharing drinks with my favorite people.
READ MORE
-
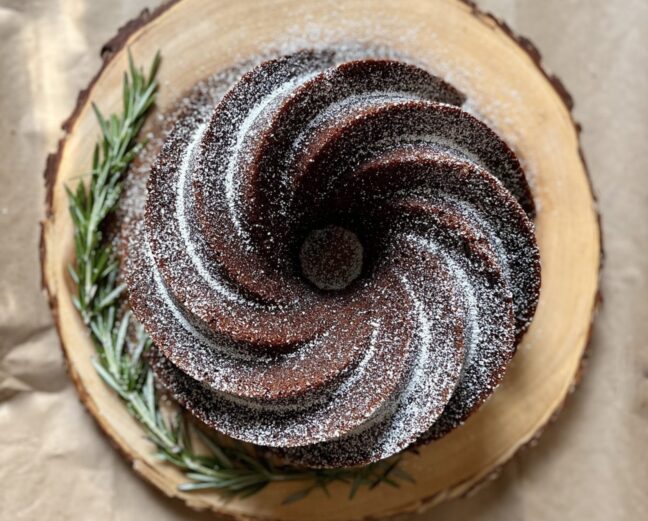
This gingerbread bundt cake is fragrant and deeply spiced, with all the warmth of gingerbread cookies in tender cake form. There are few things I crave more in December than cozy foods and places. Warm, twinkling lights sparkle throughout my home during the long nights of this season. The fluffy blanket is draped over the …
-
Feb12
 Guava Pink Peppercorn Margaritas
posted in: Drinks
Guava Pink Peppercorn Margaritas
posted in: Drinks
-
Jan10
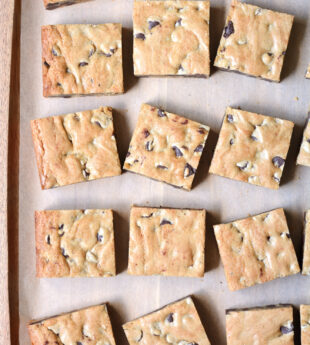 Chewy Chocolate Chip Cookie Bars
posted in: Cookies + Bars, Desserts
Chewy Chocolate Chip Cookie Bars
posted in: Cookies + Bars, Desserts
-
Jan03
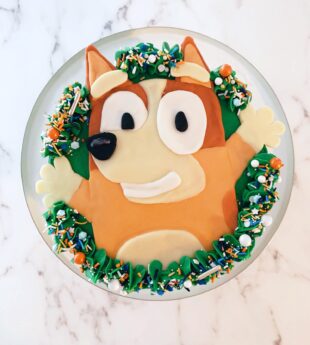 Bluey Inspired Bingo Cake
posted in: Cakes + Cupcakes, Desserts
Bluey Inspired Bingo Cake
posted in: Cakes + Cupcakes, Desserts
-
Dec07
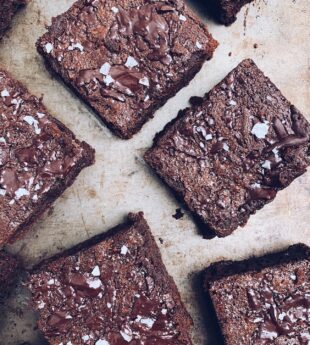 Ultimate Dark Chocolate Brownies
posted in: Cookies + Bars, Desserts, Favorites
Ultimate Dark Chocolate Brownies
posted in: Cookies + Bars, Desserts, Favorites
-
Mar02
 Chocolate Cake with Whipped Strawberry Buttercream
posted in: Cakes + Cupcakes, Desserts
Chocolate Cake with Whipped Strawberry Buttercream
posted in: Cakes + Cupcakes, Desserts
-
Feb21
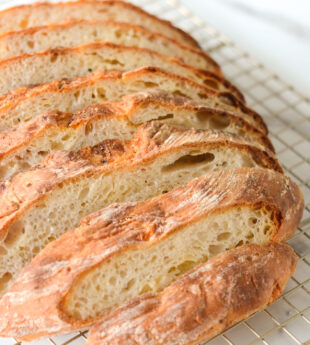 Cheddar and Black Pepper Bread
posted in: Breads + Pastries
Cheddar and Black Pepper Bread
posted in: Breads + Pastries