
Hi there! I'm Courtney
I'm glad you're here! I share reliable recipes for real life and everyday celebrations. When I'm not taking care of my two kids or volunteering for political campaigns, you'll probably find me near a cheese board, hopefully laughing and sharing drinks with my favorite people.
READ MORE
-
Feb21
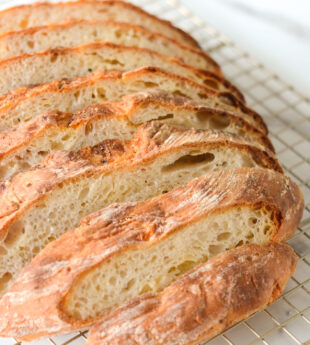 Cheddar and Black Pepper Bread
posted in: Breads + Pastries
Cheddar and Black Pepper Bread
posted in: Breads + Pastries
-
Oct18
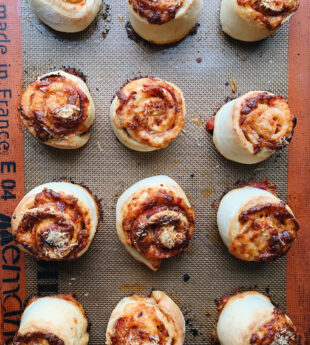 Pizza Wheels
posted in: Favorites, Main Dishes, Pizzas
Pizza Wheels
posted in: Favorites, Main Dishes, Pizzas
-
Apr22
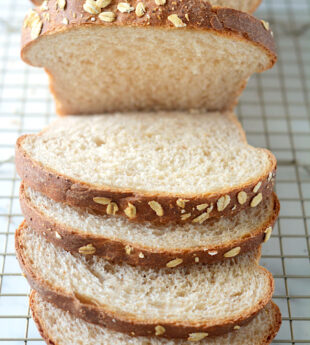 Soft Wheat Sandwich Bread
posted in: Breads + Pastries, Kitchen Fundamentals
Soft Wheat Sandwich Bread
posted in: Breads + Pastries, Kitchen Fundamentals
-
Dec18
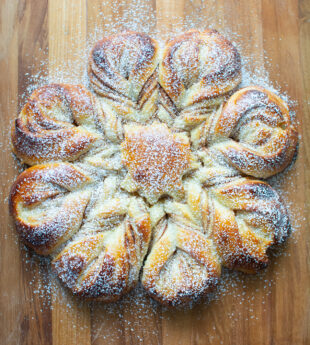 Cinnamon Snowflake Bread
posted in: Breads + Pastries, Breakfast + Brunch, Favorites
Cinnamon Snowflake Bread
posted in: Breads + Pastries, Breakfast + Brunch, Favorites
-
Nov04
 Double Chocolate Muffins
posted in: Breakfast + Brunch, Life
Double Chocolate Muffins
posted in: Breakfast + Brunch, Life
-
Oct30
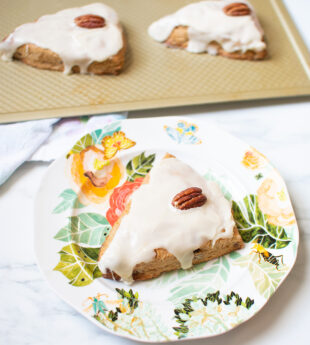 Glazed Maple Pecan Scones
posted in: Breakfast + Brunch
Glazed Maple Pecan Scones
posted in: Breakfast + Brunch