
Hi there! I'm Courtney
I'm glad you're here! I share reliable recipes for real life and everyday celebrations. When I'm not taking care of my two kids or volunteering for political campaigns, you'll probably find me near a cheese board, hopefully laughing and sharing drinks with my favorite people.
READ MORE
-
Sep20
 Cornmeal Ricotta Upside Down Plum Cake
posted in: Cakes + Cupcakes, Desserts
Cornmeal Ricotta Upside Down Plum Cake
posted in: Cakes + Cupcakes, Desserts
-
Jul24
 Cherry Almond Dutch Baby
posted in: Breakfast + Brunch
Cherry Almond Dutch Baby
posted in: Breakfast + Brunch
-
Nov12
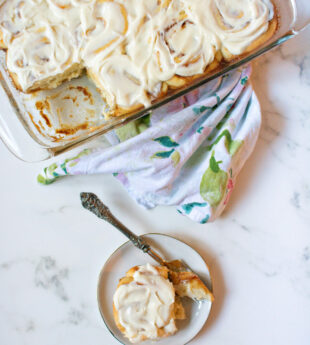 90 Minute Brown Butter Cinnamon Rolls
posted in: Breads + Pastries, Breakfast + Brunch, Favorites
90 Minute Brown Butter Cinnamon Rolls
posted in: Breads + Pastries, Breakfast + Brunch, Favorites
-
Sep07
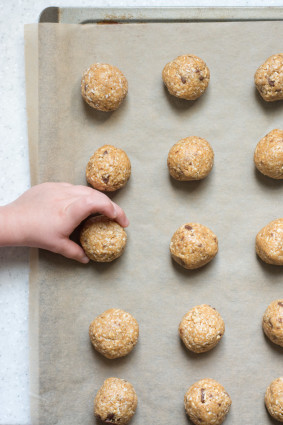
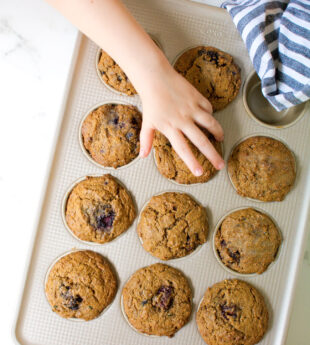 Blackberry Bran Muffins
posted in: Breakfast + Brunch
Blackberry Bran Muffins
posted in: Breakfast + Brunch
-
May09
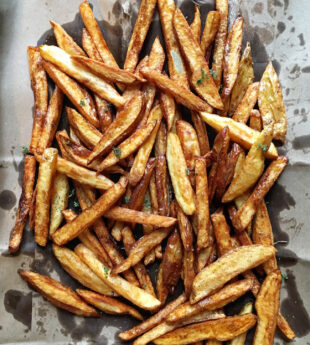 Easiest French Fries
posted in: Appetizers + Snacks, Favorites, Side Dishes
Easiest French Fries
posted in: Appetizers + Snacks, Favorites, Side Dishes
-
Apr10
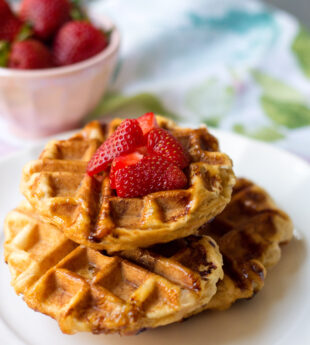 Liege Waffles
posted in: Breakfast + Brunch
Liege Waffles
posted in: Breakfast + Brunch