
Hi there! I'm Courtney
I'm glad you're here! I share reliable recipes for real life and everyday celebrations. When I'm not taking care of my two kids or volunteering for political campaigns, you'll probably find me near a cheese board, hopefully laughing and sharing drinks with my favorite people.
READ MORE
-
Jun25
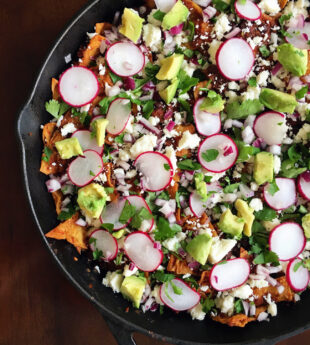 Cast Iron Chicken Chilaquiles
posted in: Breakfast + Brunch, Favorites, Main Dishes
Cast Iron Chicken Chilaquiles
posted in: Breakfast + Brunch, Favorites, Main Dishes
-
May23
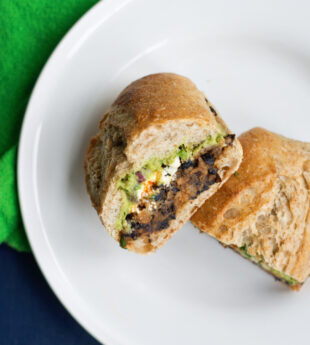 Black Bean and Chorizo Tortas
posted in: Lunches, Main Dishes
Black Bean and Chorizo Tortas
posted in: Lunches, Main Dishes
-
May17
 Roasted Potatoes with Arugula and Parmesan
posted in: Side Dishes
Roasted Potatoes with Arugula and Parmesan
posted in: Side Dishes
-
May03
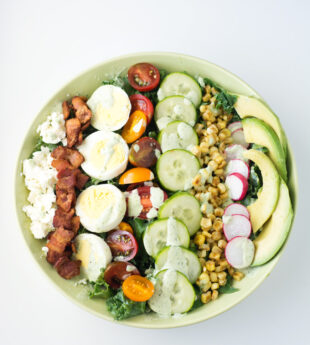 Southwestern Cobb Salad with Creamy Cilantro Dressing
posted in: Dressings + Condiments, Lunches, Main Dishes, Salads
Southwestern Cobb Salad with Creamy Cilantro Dressing
posted in: Dressings + Condiments, Lunches, Main Dishes, Salads
-
Feb06
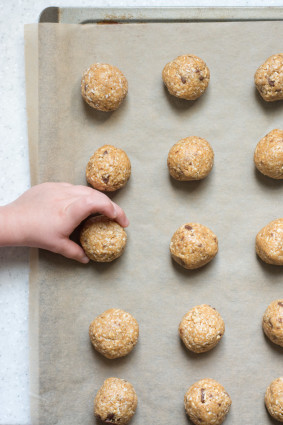
 Pecan Linzer Cookies
posted in: Cookies + Bars, Desserts
Pecan Linzer Cookies
posted in: Cookies + Bars, Desserts
-
Dec22
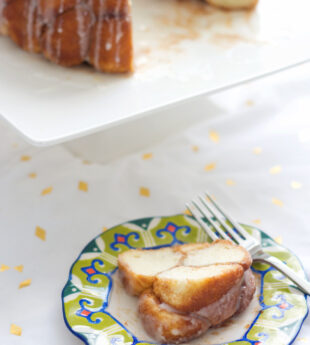 Monkey Bread
posted in: Breads + Pastries, Breakfast + Brunch
Monkey Bread
posted in: Breads + Pastries, Breakfast + Brunch